I can’t tell you how thankful I am for other bloggers. I turn to them for everything! I turn to fashion blogs to inspire my personal style, food blogs for what to make for dinner, and design blogs for decorating and DIY projects for the home. Until we owned our own home, I spent years pinning and pinning and pinning as I would come across good ideas for home projects and I am finally getting to put them to use. This particular doorknob revamp I can thank Young House Love for. Our sliding door goes from our kitchen to our back deck and in the few short weeks we have been here it’s been used some 50 times per day as the kids run in and out and in and out (and I remind them that they don’t live in a barn!). The handle needed a little love and it turns out Young House Love tackled this exact project.
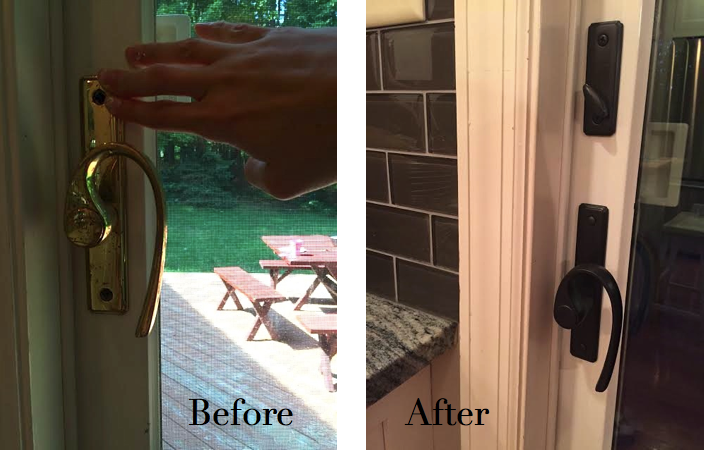
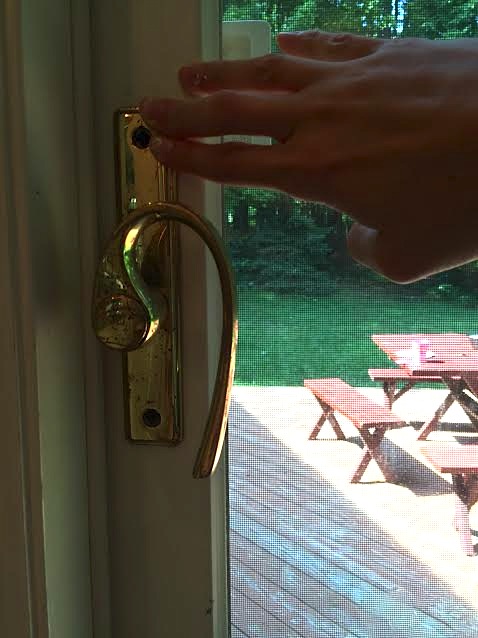
Here’s what we started with (some blogger I am, forgetting to take a pic before removing the handle, oops!):
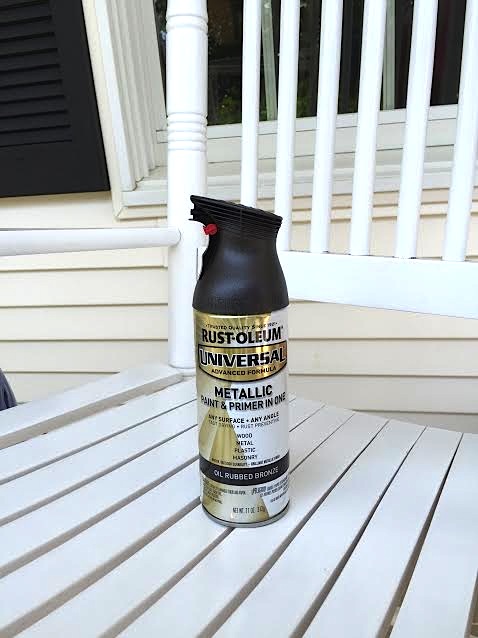
We started by using some Liquid Deglosser on it as opposed to sanding. The deglosser also helps the paint to adhere (we used deglosser prior to painting our front door as well…that post will be forthcoming). I then ran to Home Depot to grab some of this spray paint which was recommended by Young House Love. There were a ton of finishes to choose from but since we have bronze fixtures in our kitchen I went with oil rubbed bronze in metallic which gives a beautiful shine to the finish. It’s a primer and paint in one saving you (and me) yet another step.
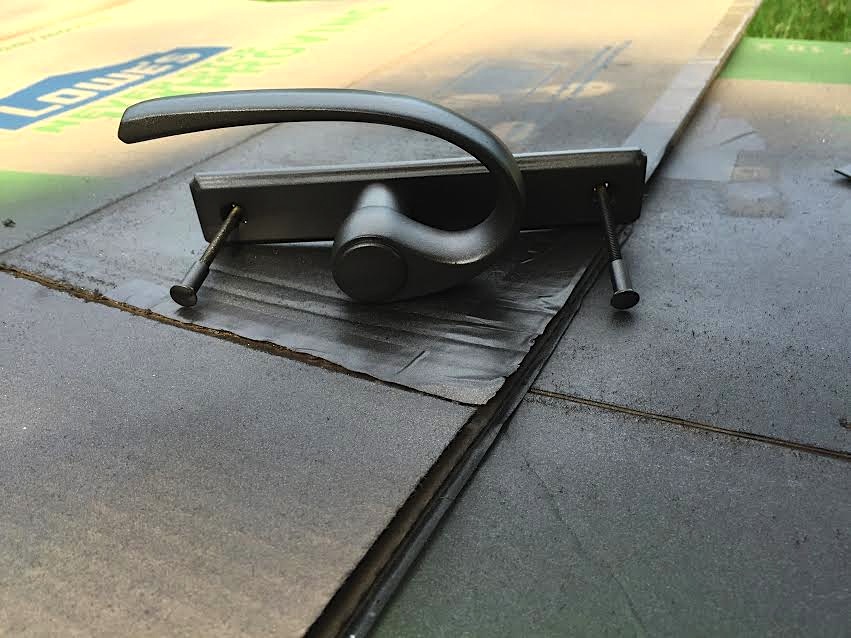
I laid out the hardware on some cardboard and began spraying thin, light layers. Three in total with time to dry in between. I left the screws in as I sprayed so the tops would get painted but **note** to tape the ends beforehand. I ended up spraying them in their entirety and when Jack was putting it back on the door, the paint wasn’t allowing them to screw in tightly. Luckily some nail polish remover did the trick, but you can save yourself that step by covering the ends in the first place. Also, be sure to flip the lock (not shown) back and forth as you paint so that you don’t miss any spots.
I didn’t even bother to look up the price of a new doorknob, but I am positive it’s more than the $7 it cost to re-do this one!
Quick and easy fix that I was able to tackle during the kids’ nap and one more thing to check off of my list!

Comments
Love it!! Somehow I’ve overlooked my ugly gold hardware. After seeing this, I’m updating promptly!!
Show me before and after pics!
I have SO many brass fixtures in my new house and would love to try this! Has the finish lasted now that you’ve lived with it for awhile?
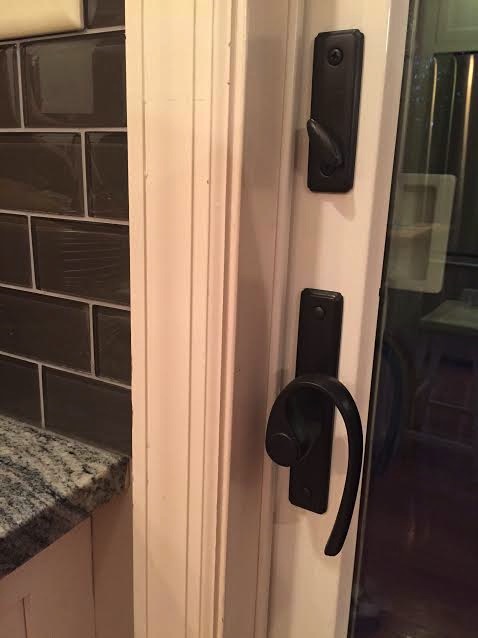
Hi Lauren! Glad you asked. We did this a few places in our home, one being the sliding glass door (shown above) and another the door to our garage. The sliding door has held up but we do not use it year round, for the most part just in the summer. The garage door that we use everyday however, has definitely worn through. I think we’ll be doing it again though as I’d still rather not have to buy a new one! So depending on the use of where you’re planning on using it, that may help be your deciding factor!
Thanks! That’s helpful to know! Love your blog by the way! I’ve been reading regularly for a couple years now.
Thanks so much Lauren, I’m so happy to have you reading along!!